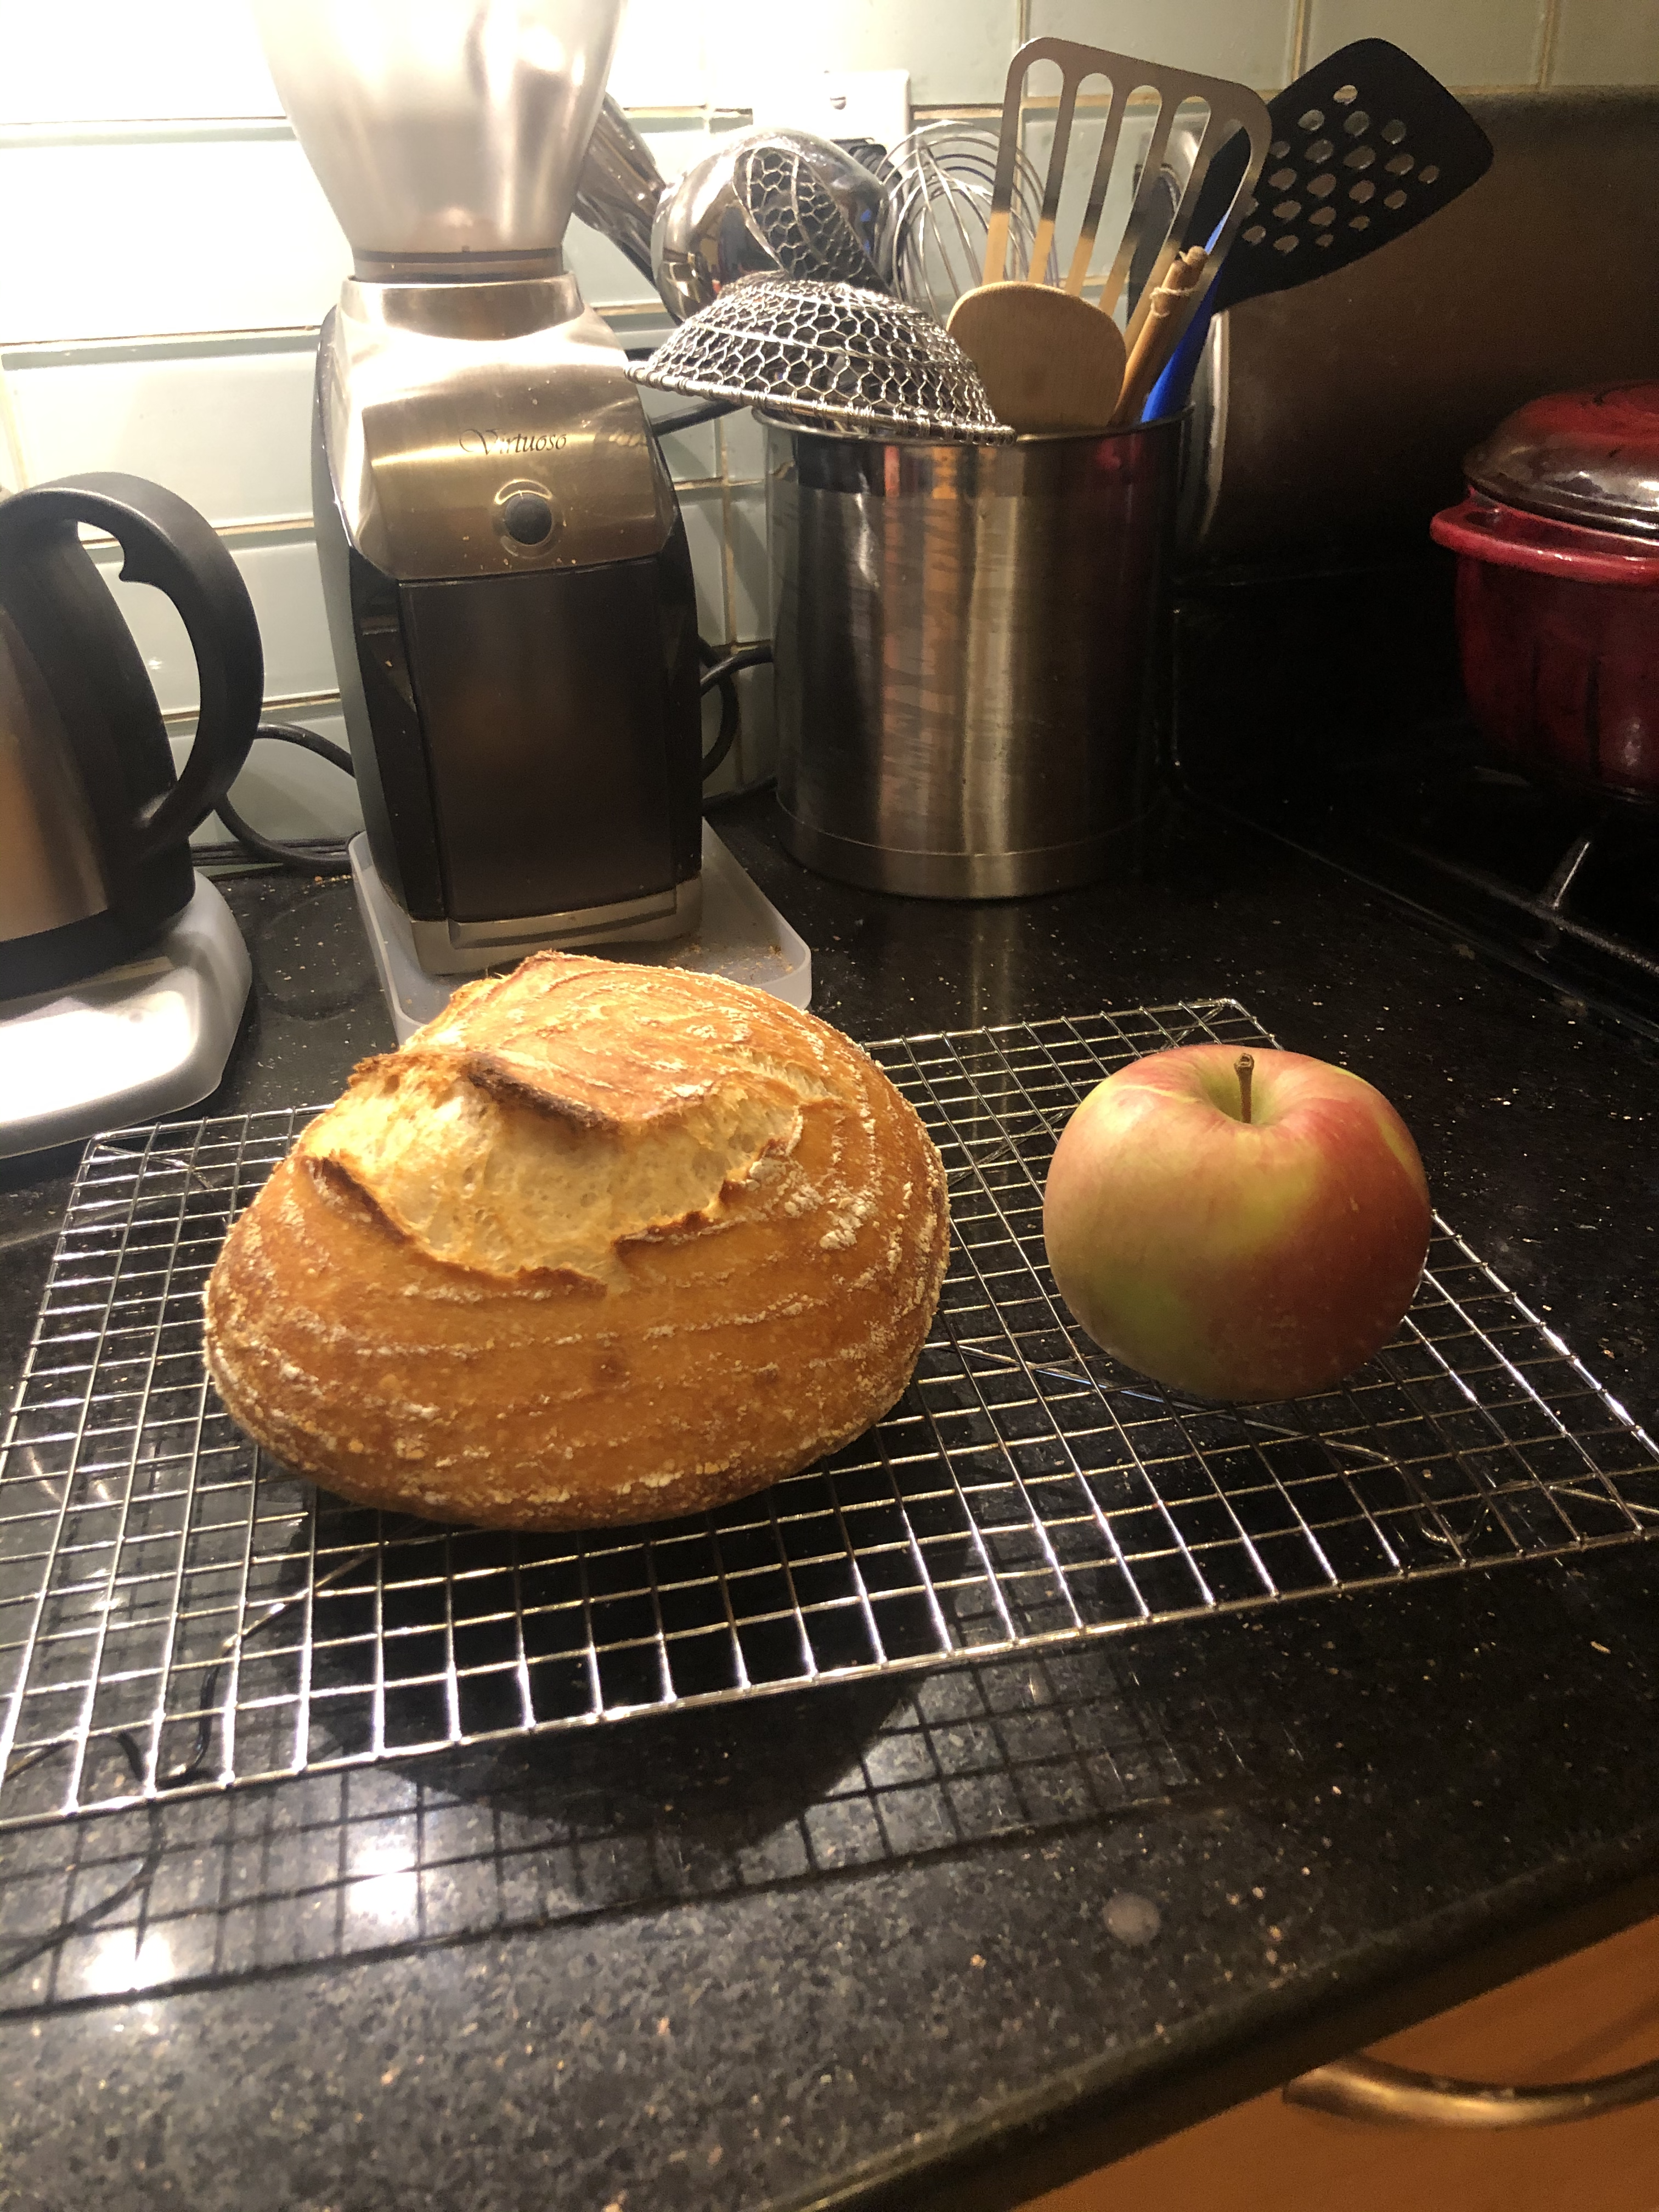
Baking a Baby Boule
17 Apr 2020This is a recipe adapted from Ken Forkish’s Pain de Campagne (from Flour Water Salt Yeast). It’s a delicious boule that I was working to make my own… before COVID-19 and Stay-At-Home orders happened.
In Brooklyn, all-purpose flour and yeast are hot commodities. Because of this, I’ve been conserving my ingredients and making what I’ve been calling “petite pain de campagne”. But since this doesn’t really follow Ken’s PDC recipe very closely, let’s just call this my “baby boule” recipe.
In this recipe:
Kitchen Supplies
- Medium mixing bowl
- Plastic wrap
- Banneton - if you don’t have / want to buy this, you can use a dish towel and colander.
- Plastic bag, either a grocery bag or produce bag
- Dutch oven
Nice-to-have Supplies
- Kitchen scale, for measuring ingredients
- Instant read thermometer, for checking water and dough temperatures
Note: The Wirecutter is not sponsoring me, but they might as well with how often I refer people to them!
Ingredients
- 200g all-purpose flour + 50g bread flour (or a mix of all-purpose, bread, whole wheat, rye, etc. flour adding up to 250g)
- 175g of warm water (about 95F)
- 60g fed sourdough starter
- 5g kosher salt
Tip: If you don’t have a kitchen scale, you can use King Arthur’s Ingredient Weight Chart to do conversions.
Instructions
Feed Your Starter
- Feed your starter 1:1 flour/water, so you have at least 100g of starter.
- Let your starter grow for 5-6 hours.
Mix ingredients (Autolyse)
- In a medium mixing bowl, mix water (175g) and starter (60g) together to get an even consistency.
- Add the flour (250g) and mix to combine into a shaggy dough.
-
Cover the bowl with plastic wrap and let sit for 20-30 minutes. This is the “autolyse” step.
Tip: Save this plastic wrap to recover your bowl later!
-
Add the salt (5g) and incorporate:
- Wet your dominant/working hand.
- Hold the mixing bowl in your non-dominant hand.
- Begin to mix with your wet hand by scooping underneath the dough and grabbing about 1/5 of the dough. Wet your working hand as needed, don’t worry about the dough getting too wet.
- Stretch and fold this dough over and repeat until the salt is “tucked in” to the center of the dough (about 4-5 times). The seams should gather in the middle.
-
Use the pincer method to further incorporate the salt:
- Wet your working hand.
- Using a pincer-like grip with your thumb and pointer finger (think of how you hold your hand to make the mouth of a sock puppet), cut/pinch the dough 5-6 times.
- Fold the dough again, like you did in step 4.
- Repeat the pinching and folding until the dough is about 77F (or about 5-7 minutes).
-
Cover the bowl with plastic wrap and let sit in a warm spot for 20-30 minutes.
Tip: A good warm spot is your oven (turned off) with the oven light on. Just don’t forget your dough is in there!
Turn Your Dough (Bulk Fermentation)
- Fold the dough, like you did in step 4. This is your first “turn”.
- Cover the bowl with plastic wrap and let sit for another 20-30 minutes.
- Fold the dough, like you did in step 4. This is your second “turn”.
- Cover the bowl with plastic wrap and let sit for another 20-30 minutes.
- Fold the dough, like you did in step 4. This is your third– and last– “turn”. Let sit until the dough has about double in size (for about 1.5-2 hours from your last fold, or about 5 hours after you did step 5). This is the rest of your “bulk fermentation” or “bulk rise” step.
Shape Your Dough
- With floured hands, gently ease the dough out onto a lightly floured surface. Shape the dough like you did in step 4, with the seams gathering in the middle.
- Gently pick up the dough and place with the seam-side down.
-
Shape the dough into a tight ball:
- Cup your hands around the back of the dough ball.
- Pull the dough ball toward you, about 6 inches. This should tighten the dough ball.
- Turn the dough ball a quarter turn, and repeat.
- Turn and pull the dough ball until you have gone all the way around the dough ball 2-3 times.
- Lightly flour the banneton. If you’re using a dish towel and colander, lay the dish towel flat in the colander and lightly flour the dish towel. You need enough flour so the dough won’t stick.
- Scoop the dough ball up with your hands and place seam-side down in the basket / towel-lined colander.
Wait (Second Rise)
- Put your proving receptacle into the plastic bag and tie off or bunch the bag so it’s relatively air-tight.
- Stick in your fridge overnight (about 12-14 hours but it can go longer). This is your “second rise”.
Bake Your Boule
- Put your dutch oven in your oven and preheat your oven to 475F. Preheat for about an hour.
- Right before you are about to bake, remove your dough from the fridge and place on a lightly floured surface– seam-side (the side that was down in the proving receptacle) up.
- Carefully pull the dutch oven out from the preheating oven.
- CAREFULLY (!) ease the dough into the dutch oven. Be careful not to touch the sides of the really hot dutch oven!
- Replace the dutch oven lid and put the whole thing back in the oven.
- Bake covered for 25 minutes.
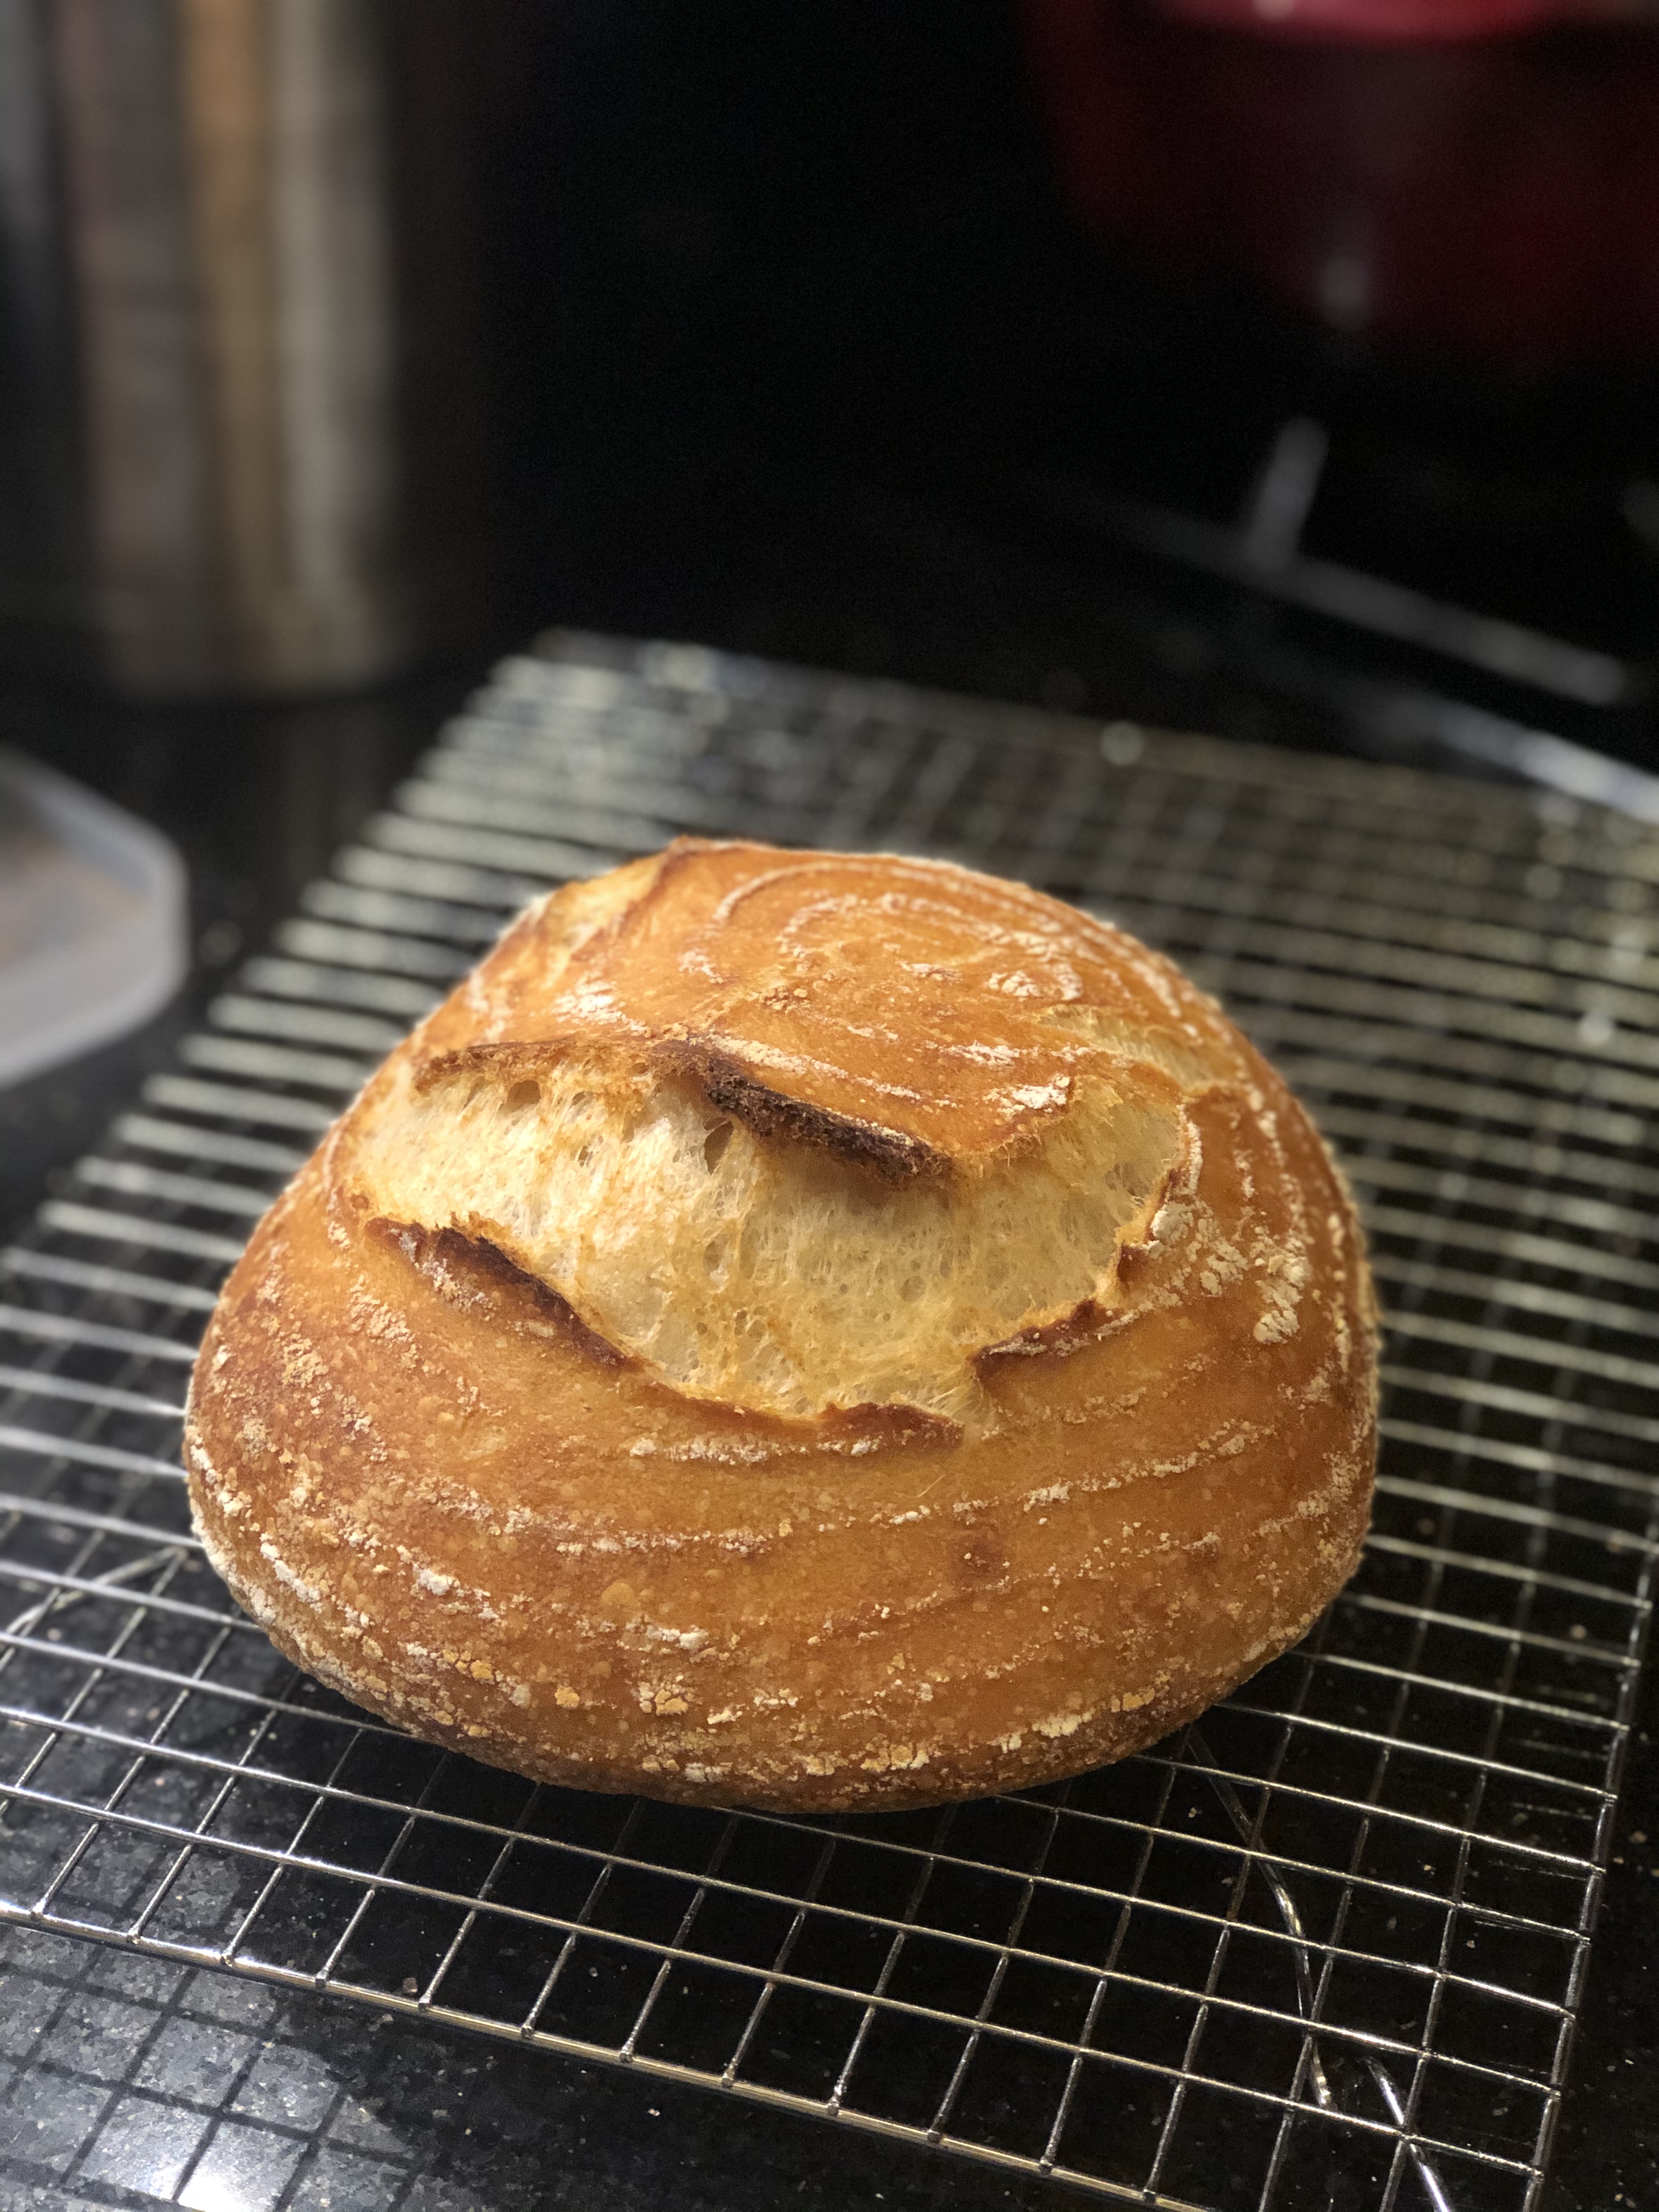
- Remove the lid and bake for about another 15 minutes. Be sure to watch the color of the crust here– pull the dutch oven out once the boule is dark brown and the seam edges are nice and crispy.
- Remove the boule from the dutch oven and let cool for at least 20 minutes. You can use a wire rack or just tip the loaf up on it’s side.
Sample Schedule
| Time | Step |
|---|---|
| 10:00AM | Feed your starter |
| 3:30PM | Mix ingredients |
| 4:30PM | Turn your dough (Last turn at 5:30PM) |
| 7:30PM | Shape your dough |
| 7:40PM | Second rise |
| 8:30AM | Preheat your dutch oven |
| 9:30AM | Bake your boule |
| 10:45AM | Eat! |
Notes
- This is a WIP recipe, so please let me know if anything is confusing!
- The second rise is flexible if you keep your dough in the fridge. Most times, I bake my boule on Sunday morning around 10AM after sleeping in a bit :)